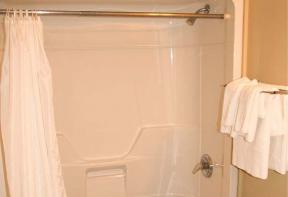
Bath wall overhaul
Installing a tub surround is an easy afternoon upgrade
Old tile walls can really make a bathroom look unattractive-or worse, they can leak-but adding a new plastic bathtub surround is a simple solution for a clean, updated new look. Properly installed, it’s also easy to maintain, and it provides a watertight seal over areas of cracked or loose grout.
Tub surrounds can be installed over drywall, plaster, tile…any solid, flat wall that’s in good structural condition. If your existing wall is drywall, make sure it’s the moisture-resistant type (often called “greenboard”), which is made for use in damp areas.
If the walls are spongy from long-term water damage, be prepared to repair the damaged area. Often the damage is localized, which might mean replacing only a portion of the wallboard or a stud or two. Be sure to allow the area to dry before you install the new surround.
Tub-surround kits come with either three or five pieces that overlap each other to compensate for different dimensions (and slightly out-of-square walls). Be sure to read the kit’s instructions before you leave the store, because you’ll probably need to buy special panel adhesive and colour-matched caulk.
Although some of the thicker tub-surround remodelling kits that are made from fibreglass can be installed directly over bare studs, the less expensive (approximately $150) plastic retrofit kit we installed needs the support of a solid wall behind it.
To leave a comment, please log in


No comments