A perfect and foolproof wood finish
Four steps to the perfect wood finish
No matter how much trouble you’ve had finishing wood in the past, you’re only four easy steps away from silky smooth success. There are dozens of ways to finish wood, and my no-fail finish is ideal for furniture, cabinets and interior trim. It’s a multi-purpose, film-forming approach that lets wood grain show through while also offering surprising durability.
Successful wood finishing depends on a series of successful acts, one built upon the other. If you get too eager and rush ahead without completing the initial steps successfully, it won’t work out.
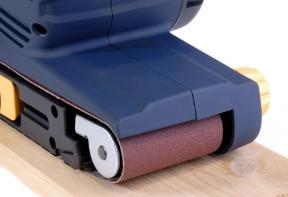
All wood, no matter how smooth, must be sanded to achieve the best possible finish. This is the first step, and for most planed lumber, a random-orbit sander with 120- or 150-grit abrasives is ideal for initial work. Sand until the entire surface is an even smoothness, then switch to 180- or 220-grit discs. Use shallow-angle lighting to reveal surface imperfections. Also, let the weight of the machine do the work to prevent swirls and cross-grain scratches.
Coating is the second step. Although the best water-based urethanes are slightly more challenging than oil-based products, I still prefer water-based because of the low odour and easy cleanup. (Besides, my approach overcomes the irritating tendency of water-based urethanes to leave behind brush strokes and hardened air bubbles.) Apply a thin, even coat, orienting the largest and most prominent surfaces horizontally to eliminate runs.
Jump to a section
- Page 1 : Achieve the best possible finish on a budget
- Page 2 : Step-by-step instructions
To leave a comment, please log in


No comments